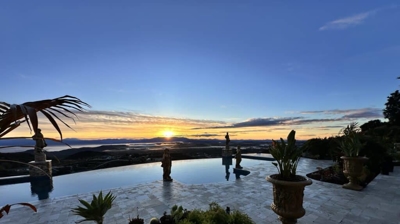
Summer might be over, but now is a great time to start planning your swimming pool construction project for next season. To beat the heat in the comfort of your backyard, a gunite pool is the way to go.
As a homeowner, you might be interested in a gunite pool for the following reasons:
- Flexibility to design the pool in virtually any shape or size
- Ability to fit the pool into your existing landscape
- A wide range of finish options lets you personalize your pool
- Gunite’s durability means your pool will last
- Nearly endless design choices are available to you
According to Livestrong.com, swimming for an hour three times a week brings heart health benefits and improves your flexibility—a great reason to have a quality pool installed on your property.
The Basics of Gunite Swimming Pool Construction
Swimming pool construction will depend on the material you use. A gunite swimming pool, unlike vinyl or other materials, is essentially made of concrete. But where concrete is poured into frames, a compressed air gun sprays gunite in layers. This allows gunite to be applied to vertical surfaces and curves, creating a both seamless and durable surface.
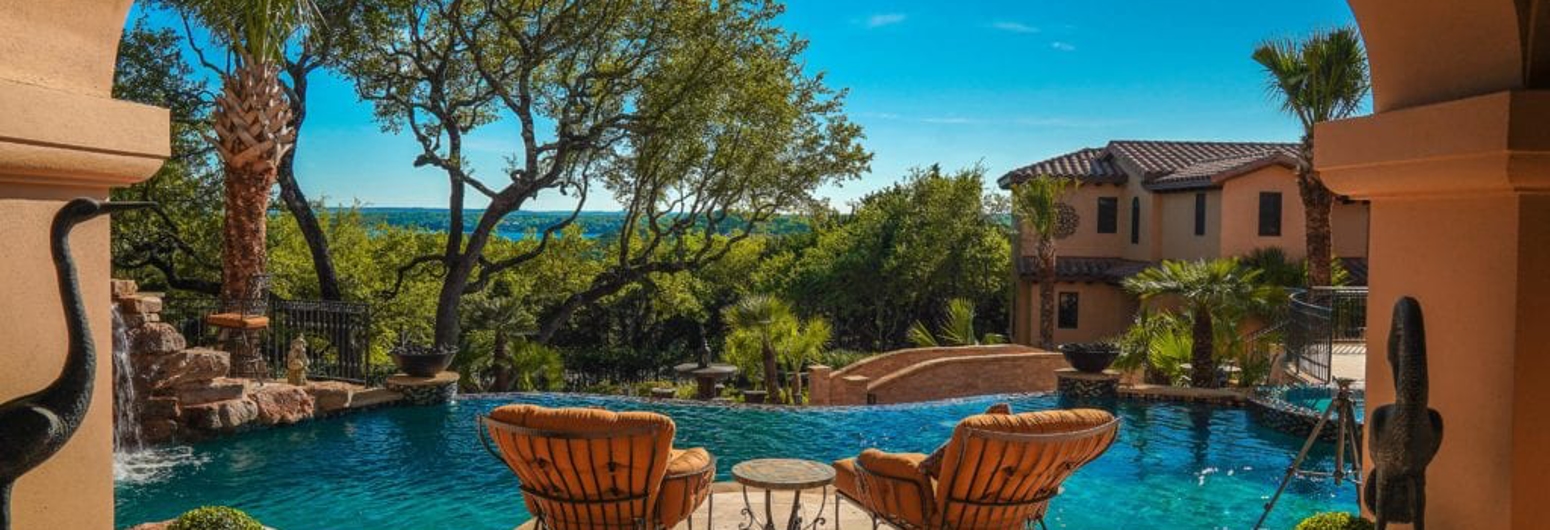
Gunite’s versatility in application also allows for custom designs. Those unique pools that fit the shape of the landscape? Gunite makes them possible by building out the design’s framework with rebar.
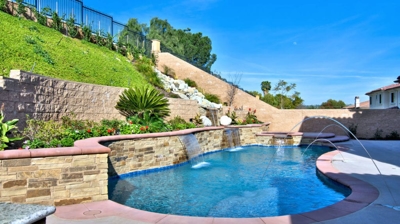
Depending on your budget, the exterior elements of gunite pools are also customizable—from tiling, to step design, to other features like waterfalls—allowing you to match the pool to the rest of your home’s aesthetic.
A Look at the Pros & Cons
As with anything, you should consider the pros and cons of any solution before you invest. Here’s a quick glance at the benefits and disadvantages of gunite pools compared to other types:
Pros
- Design flexibility
- Pool durability
- Integrates well with your landscape
Cons
- Longer installation time
- Requires more maintenance
Gunite Pool Maintenance
All pools require maintenance and gunite is no exception. In fact, because gunite is porous, the pool is more prone than others to developing algae.
Upkeep requires a close eye on the pool’s chemical maintenance as well as a good brushing, more than you might with a vinyl or fiberglass pool. Keep a robotic pool cleaner and your chemical monitoring on a schedule, and you should be fine.
Gunite Swimming Pool Construction Process
So, what’s involved with gunite swimming pool construction? Installing a gunite pool can take, on average, 6 to 10 weeks. Depending on the size of the pool, and as weather permits, the total installation time may be longer or shorter. Here are the different steps that go into the process:
Designs and Permits
After an initial consultation, your pool builder will draw up a design. The design accounts for the pool’s basic shape and size, ensuring it fits in the yard and is structurally sound. The design also maps out necessary plumbing for the pool and where in your yard the builder will set important fixtures.
Your builder will also ask you a lot of questions to assess your aesthetic and additional features you may want to include. Do you want a waterfall? An attached hot tub? Lighting? If not now, in the future? What tile, coping and decking do you want around your pool? Your builder should bring samples and walk you through the pros and cons of each option.
Once the design is mapped out and complete, the builder will submit your plans to your HOA (if you have one) and local inspectors for approval. With all permits approved, installation begins.
The Big Dig
Digging out and framing a gunite pool is no small task. This is a real excavation process, requiring heavy equipment to remove all the dirt and rocks in the soil. With the outer shape of the pool laid out, the excavation should take a full day, weather permitting.
Rebar and Plumbing
To counteract water pressure, the pool is framed in rebar. The rebar framing sits at 8 inches on center, creating a strong shell and support system for the gunite to adhere to. All of the plumbing gets installed at this time. Pipes are run to the filter location, and the filtration hardware is installed.
Finally, the gunite gets sprayed. Your builder will blow the cement from a hose, giving your pool a more defined structure and shape.
Tile and Decking
Depending on the choices you’ve made in the design process, now it’s time to tile the interior and finish the decking above the pool. The whole tiling process takes a day or two, including rounding off and finishing the coping along the pool’s top edge.
The decking process takes a similar length of time. Pouring concrete may be quicker than laying pavers, though this depends on the size and shape of the decking.
Start it Up
The swimming pool construction finishes with any remaining plasterwork and filling the pool with water. Filling the pool can take up to 48 hours, and it will take some time to get the chemical balance just right.
Once filled, your builder will check all the components and plumbing to make sure they are working properly. This takes a few days as the pool settles.
You’ll be able to swim in and enjoy your pool about a week after it has been filled. Be sure to keep it clean!
Gunite Pool Remodel Process
An inground pool remodel is not as extensive as an installation. Some homeowners decide to remodel a pool to add exciting new features or update the look.
Draining and Chipping
First, your builder will drain the pool using a pump and hose leading out to the street. Draining takes up to 12 hours depending on the pool’s volume.
Chipping out the pool means breaking down the surface and priming it so new tile and new surface can adhere to the gunite shell.
Just like during the initial design process, you’ll get to choose new tile and surface materials.
Tiling and Resurfacing
Re-tiling a pool takes a day or two from start to finish, depending on the number of tiles and design. Resurfacing the pool with plaster takes about 4-6 hours.
If you want to expand the pool or change its shape, the project will require more than a few days. A significant remodel will look similar to the original swimming pool construction process and may require new permits.
Refill and Restart
Once all surfaces are finished, we’ll refill the pool. Refilling the pool requires an initial test of the pool’s systems and integrity before you can swim in it again. That’s because different surfaces react to the pH balance in the water and may take a few days to settle.
Get Swimming
Now that you know more about the gunite swimming pool construction process, are you ready to see what an experienced pool provider can do for you?
California Pools has been building incredible pools for customers since 1952. When you work with us, you’ll benefit from partnering with an expert in all types of pool construction. We can custom design a beautiful swimming pool that works best in your environment, fits your budget, and meets your long-term goals. For more information on how we can build or remodel your gunite pool, or any other type of swimming pool, reach out to us at the nearest design center.